Adjustments
Spatial drift correction
Thermal effects and mechanical instabilities in the microscope can cause the sample to drift under the electron beam. Since acquiring a spectrum image (SI) can occur over a considerable period, this drift could easily cause features to smear in the SI. Indeed, SI acquired over a long time at high magnification may contain data from a much different sample region than desired. Spatial drift is worse at higher magnifications and varies from one microscope to another and even from one microscope session to another.
Spatial drift correction entails cross-correlation of a reference region with a new scan of the same region taken periodically throughout the SI acquisition. The cross-correlation process works better if this spatial drift region has some unique spatial structure.
First, a region is defined to perform a reference scan on the survey image. At the start of the SI acquisition, the first drift measurement scan from the same region is taken and corrected for any spatial drift. The scan resolution and pixel dwell time used for the spatial drift scans are the same as for the survey image. Cross-correlation measures drift; thus, the correction is applied as an offset to the beam scan coordinates. When you take a measurement, the data posts to the DigitalMicrograph® software results window. If the survey image is calibrated, it quotes any shift in calibrated units. During acquisition, the drift measurement repeats periodically using the specified frequency. After the acquisition, you can view the drift measurement using the Show correction menu item in the SI menu.
Note: Since the drift image is acquired during the SI acquisition, the detector must not interfere with the spectrum acquisition when inserted.
Set up for spatial drift correction
- Acquire a survey image and assign it for the SI acquisition.
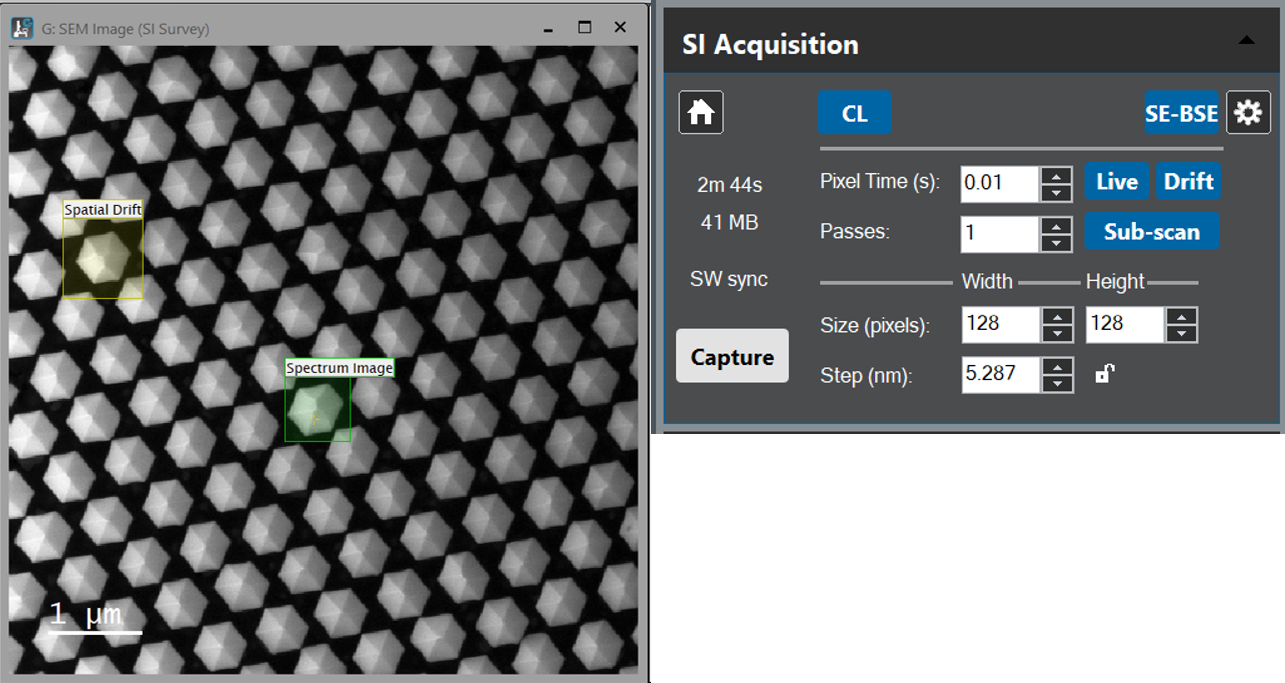
- Activate the Drift button on the STEM-SI palette.
A rectangular region of interest (ROI) marker labeled Spatial Drift is shown on the survey image, indicating the measurement area for drift correction.
- Adjust and accept the correction frequency settings.
 The optimum frequency of corrections depends on the magnitude of the drift. It is a compromise between keeping the total acquisition time short and getting clean SI data. Choosing a drift correction frequency based on spatial features (pixels, rows, frames) generally gives a more pleasing result than the time-based settings.
- Adjust the Spatial Drift ROI.
 Use the mouse to resize and move the ROI to an appropriate location. The measurement area should be at least twice as big as the maximum drift expected between two subsequent measurements. It should contain an easily recognizable feature of sufficient contrast. Ideally, the area should not overlap with the data acquisition area.
- Adjust the advanced drift correction options (if needed).
Click the Drift button while pressing the Alt key to directly access the drift correction options page of the Spectrum Imaging Setup dialog.
Viewing point spectra
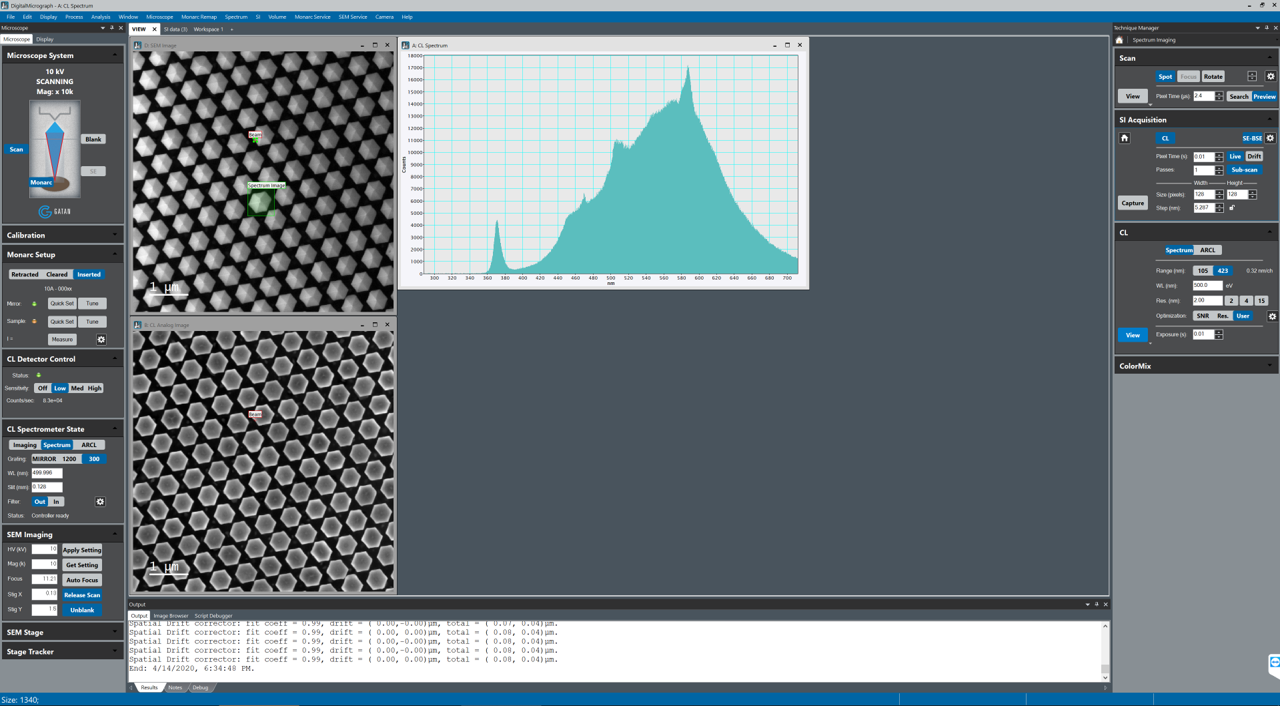
When configuring the various spectrometers for SI acquisition (e.g., determining the optimum pixel dwell time for acquisition), acquiring a continuous spectrum from a region in the survey image is often desirable. The microscope beam can be placed anywhere within the survey image using the Spot functionality so you can view the spectrum from each spectrometer at that position.

To view the spectrum at a particular point:
-
Acquire and assign a survey image.
-
Enable the Spot button in the Scan palette.
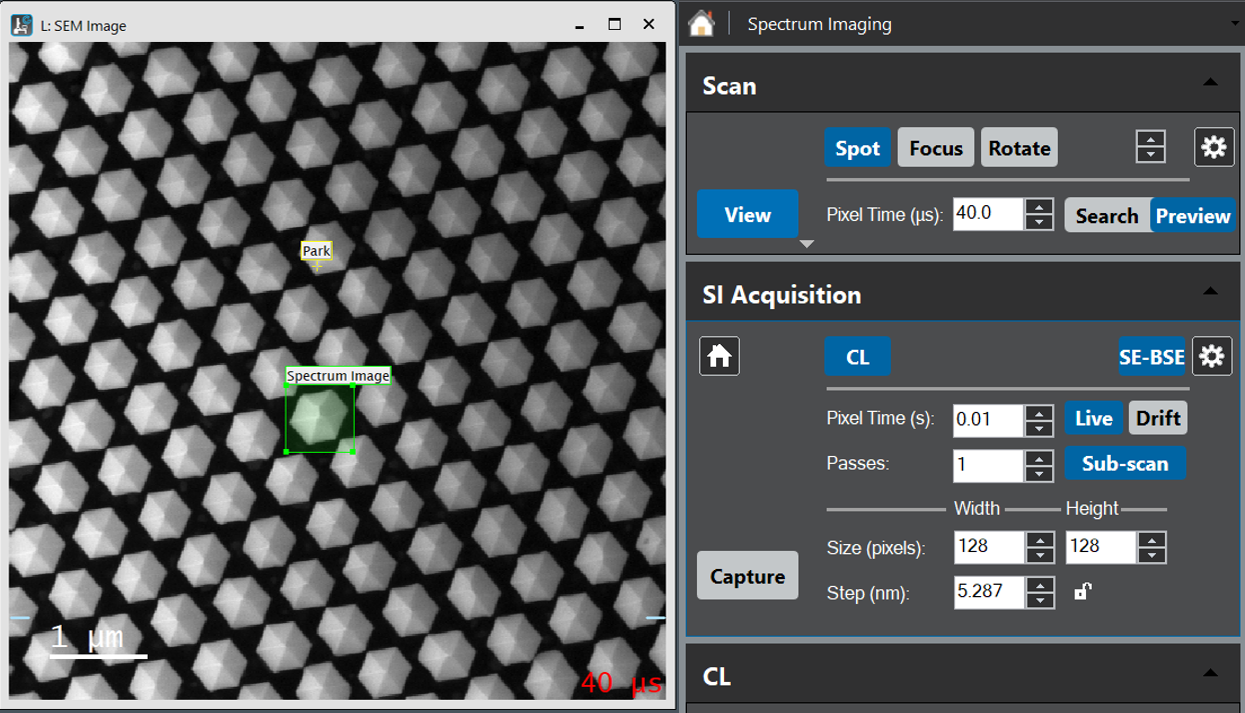
A cursor labeled Beam appears on the survey image. If the survey image is currently acquired, the marker is labeled Park instead. In this case, stop the acquisition to get a stationary beam.
-
Start a continuous acquisition from the spectrometer(s) of interest using the View button of the respective Spectral Acquisition palette – The spectrum acquisition appears in a new line plot image display.
-
Drag the beam cursor around to view the spectrum at various points.
The spectrum display continues to display data from the spectrometer as the spot marker tool moves around. Use this mode to establish the optimal acquisition parameters for SI acquisition.
Beam safe point
 When the acquisition is paused or has finished, an attempt is made to minimize possible beam damage to the specimen. The beam either moves to the park point (if you have defined one) or the beam control returns to the microscope.
Note: The point is labeled Park during an active scan. This label name changes to Beam while no scan is active and the beam is stationary at the indicated location.
To set up a safe point:
-
Ensure a survey image is assigned.
-
Enable the Spot mode on the Scan palette, and position the beam cursor at the safe point – A region in the vacuum is ideal.
-
If the SI acquisition pauses, or when the acquisition terminates, the beam returns to this point.